Page History
There are a number of different ways data can be uploaded to PAT CAT. Practices can submit data to their PHN or other organisation directly from CAT4 (described above in 5.3) by email, ftp or direct upload or data can be submitted as described below after a practice has logged on to PAT CAT.
With the release of CAT4 a new automatic data submission function has been added. In combination with our scheduler CAT4 can now be configured to automatically collect and submit data to PAT CAT. We recommend to use the 'Send to PATCAT' upload as it is the easiest and most secure way to upload data.
There is a quick reference guide available covering the data upload through CAT4 from help.pencs.com.au/cat.htm
The guide is called 'PAT CAT Quick Reference Guide Data Upload using 'Send to PAT CAT' option'.
Please refer to the 'PCS Clinical Audit PAT CAT Scheduler User Guide v1-0' available from help.pencs.com.au/cat.htm for details on how to set up scheduled collections and automatic uploads.
This guide only describes how to upload data through the web interface of PAT CAT – uploading data through CAT4 is the easier and recommended option.
Logon details will have to be provided by the PHN or other organisation and practice access needs to be configured as described in chapter Setting up Practices.
- Click the Upload button, this will open the import window.

Figure 53: Upload Button
- Click the New Extracts Tab.
- Click Choose File.
NOTE: on some internet browsers the button may be labelled Browse.
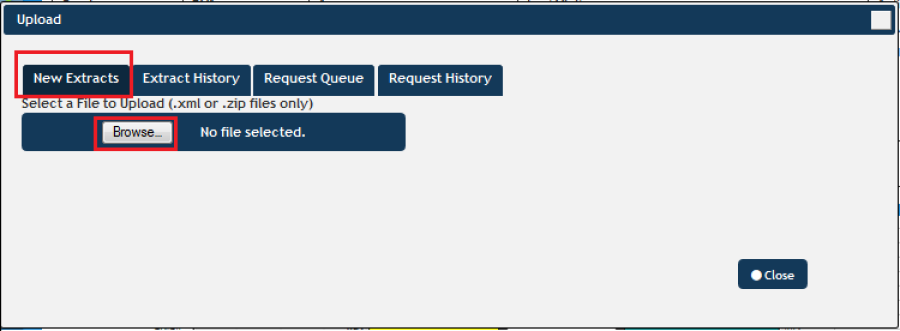
Figure 54: Choose File for Upload
- Go to the extracts directory (as identified previously) and locate the de-identified extract file.
NOTE: Ensure the file has the text "DEIDENTIFIED" or "DEIDENTIFIED_GTAGGED", and "-data" in the name. If you have compressed the extract file select the ".zip" file, otherwise select the "…data.xml" file.
- Press the Open button.
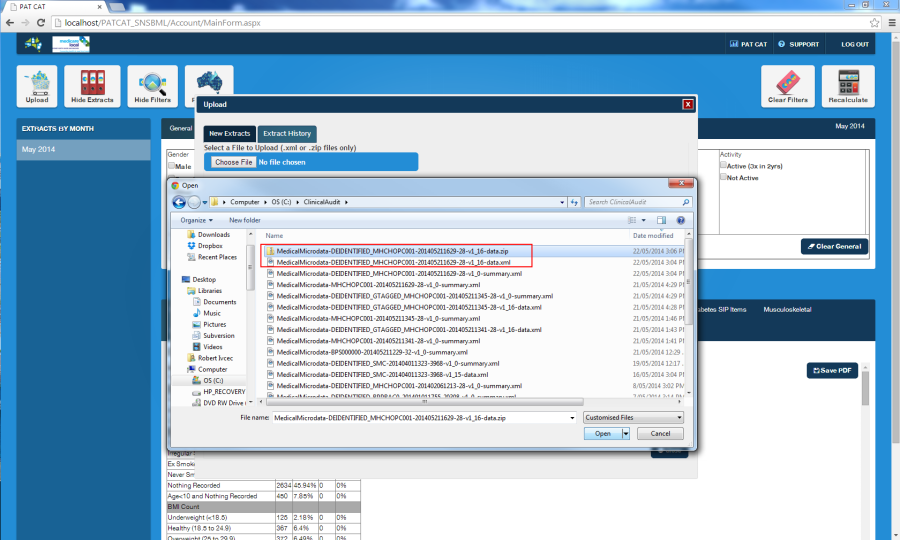
Figure 55: Select File for Upload
- Press the Upload button.
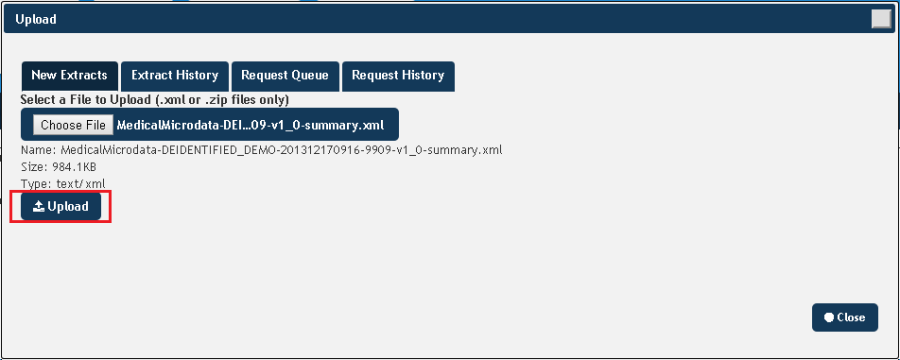
Figure 56: Upload Button
- Press OK on the confirmation dialog that appears
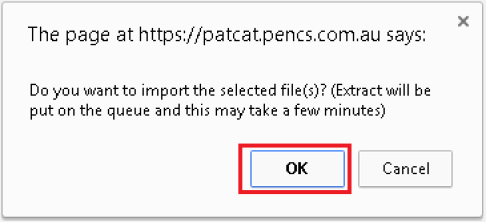
Figure 57: Import Notification
Wait for the file to be uploaded and imported into PAT CAT. You can check the progress of the import in the 'Request Queue' screen
NOTE: This can take several minutes.
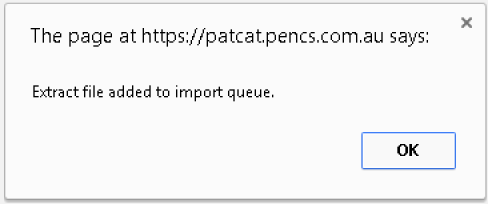
Figure 58: Import Progress
To check the progress of the import, click on the 'Request Queue' tab. Here all extracts currently waiting to be imported are listed and can be removed if needed. PAT CAT will also show who uploaded the extract when.
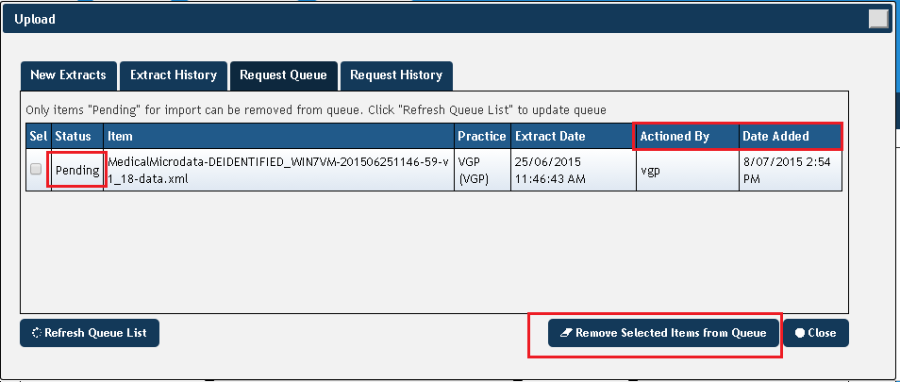
Figure 59: Request Queue
The Request History tab shows what has been imported in the past:
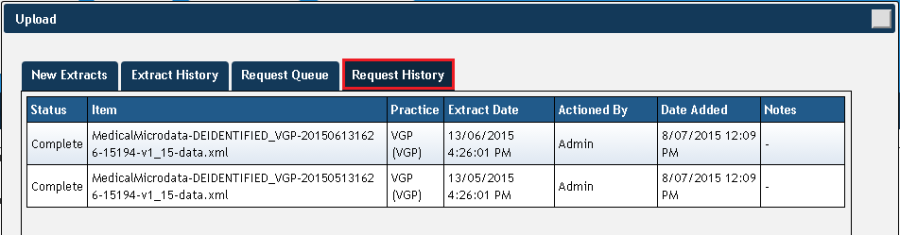
Figure 60: Request History
- When the upload and import is complete, the request queue will be empty and the extract will be show in the request history screen.
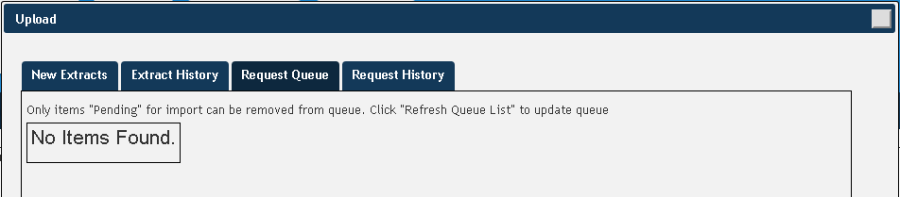
Figure 61: Empty Request Queue
- Click on the "Close" button in the Upload window. You have now uploaded the practice data into PAT CAT.