Page History
Once a dataset from the 'Extracts' panel is loaded and a send to location has been configured as described in the previous chapter the right-click function is available. This will display the list of send to locations that have been configured for the practice to choose from.
NOTE: Only de-identified data can be sent.
If a non-de-identified dataset is selected, the following error message is displayed.

Figure 8: Error Message non Deidentified Data
- Load the de-identified data set you wish to send
- Right-click on the extract listed in the extracts panel
- Select 'Send To'
- The list of configured locations will be available
- Select the location
- A confirmation dialogue box will appear
- Click OK
- A progress bar will display while the send is in progress
- Once completed a status message will be provided
- A history record will be written under menu option: Tools > Send Data History
The data will be uploaded and imported into PAT CAT automatically, but might not immediately appear in PAT CAT due to other data being imported first. All uploaded extracts are queued and will be processed in the order of their upload time.
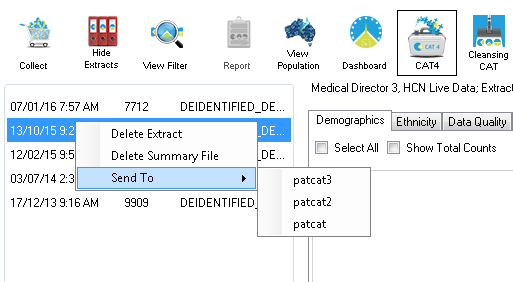
Figure 9: Send To location selections
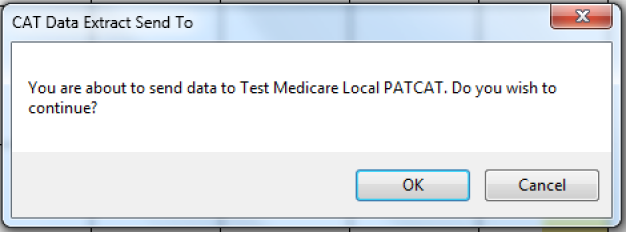 Figure 10: Send To location confirmation
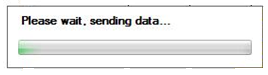
Figure 11: Send To location sending progress
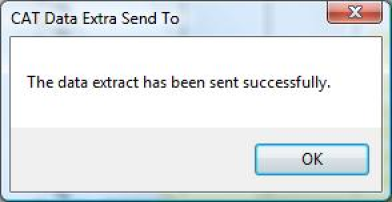 Figure 12: Send To location Success
|