Page History
...
Channel creating will be done real time. This means that the moment the user clicks and assuming that all validations are passed, then the data will be in the PCS Network and will be instantly available for viewing.
Creating a Channel
Clicking on the '+Create Channel' will start the process.
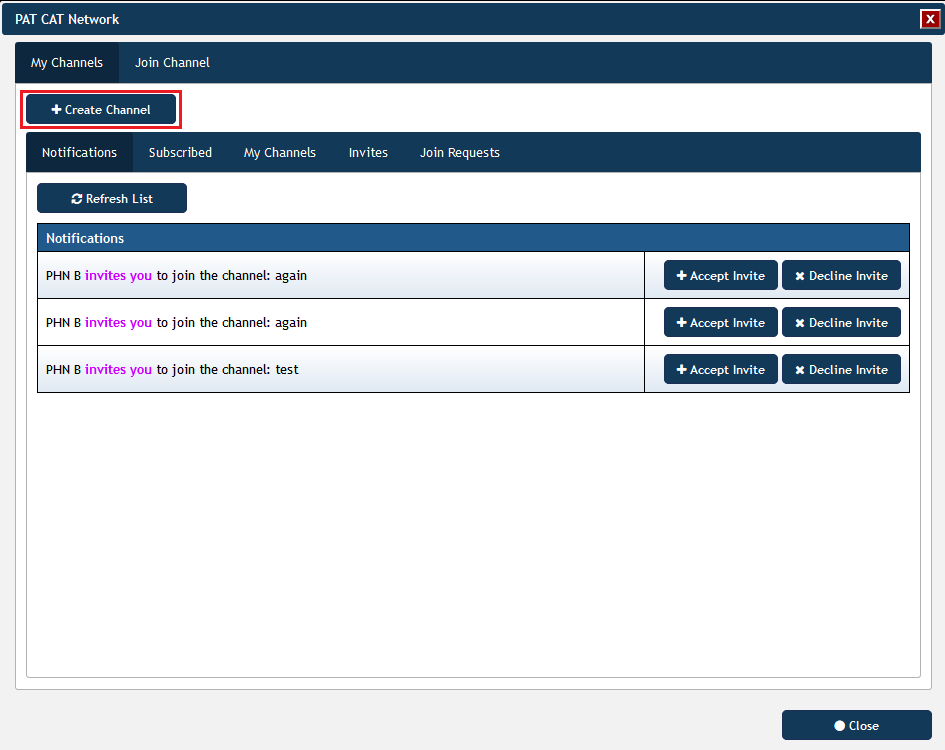
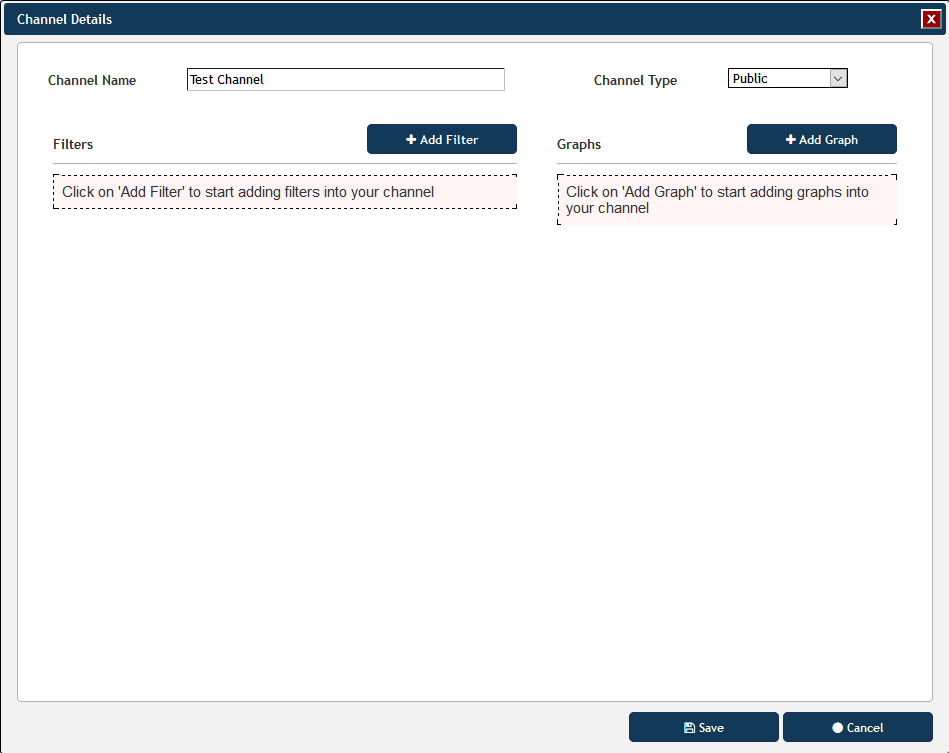
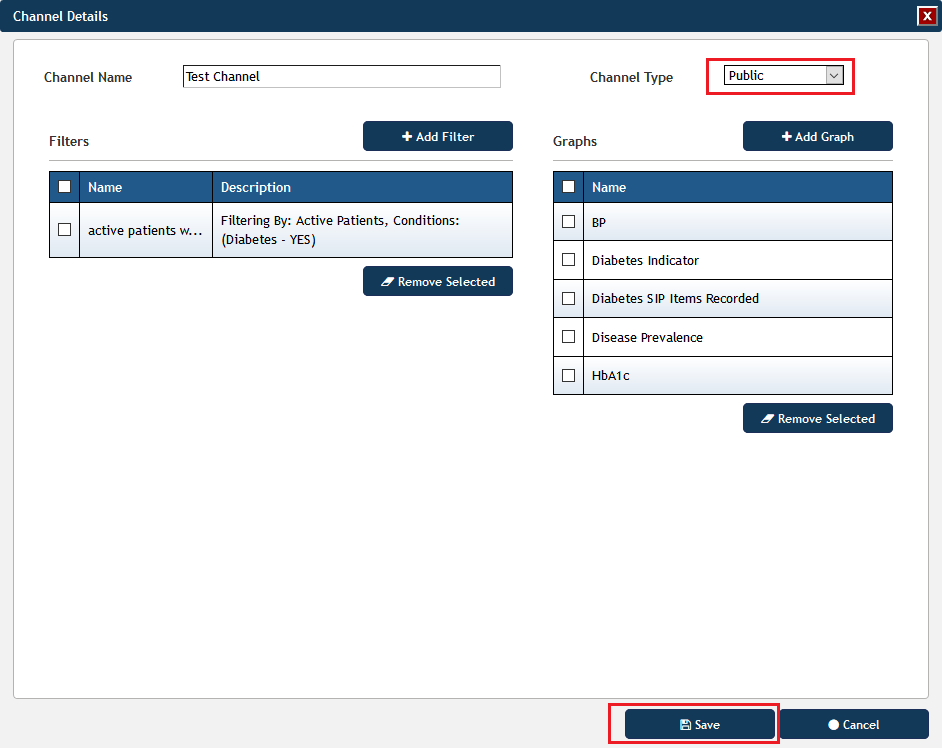
A channel has to have a name and at least one filter and one graph. It needs to be given a public or private status.
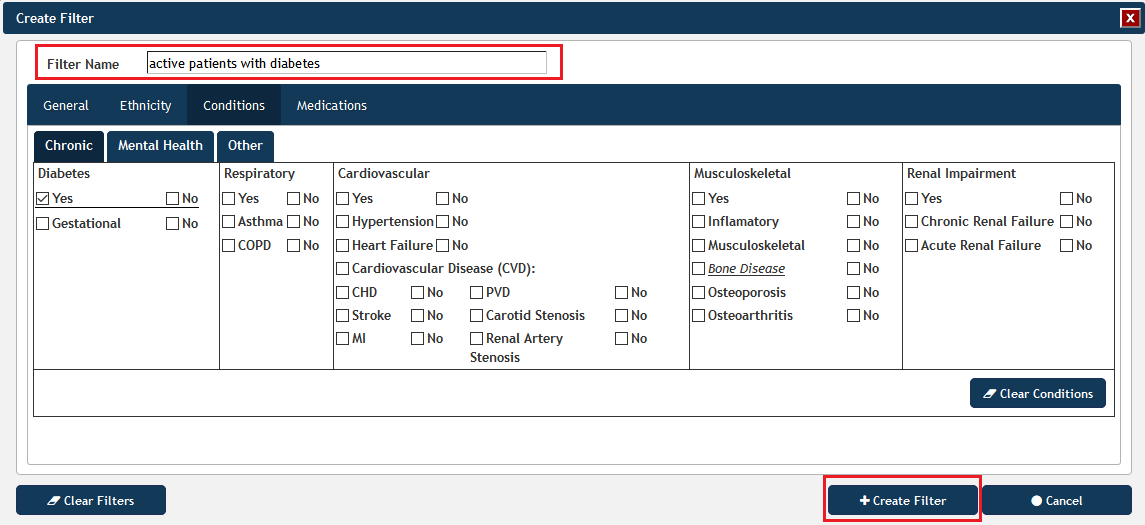
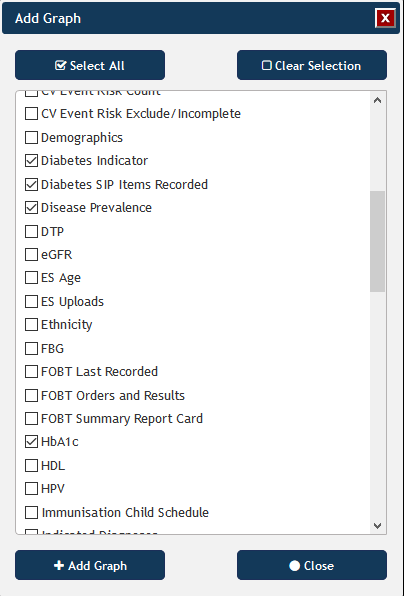
When adding a filter, PAT CAT will ask for a name. This name should describe the filter criteria used, as other organisations need to know what filter criteria have been applied. Once all filter criteria have been added and a name has been entered, the filter can be created.
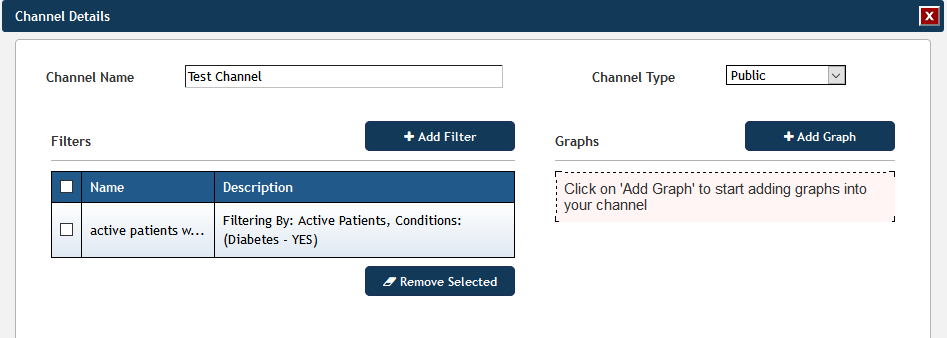
All selected filter criteria will be listed as well as the name entered:
...
Channel
...
After at least one filter and at least one graph have been added, the channel can be saved. Don't forget to set the type to Public or Private depending on your preferences. Public is the default setting for channels.
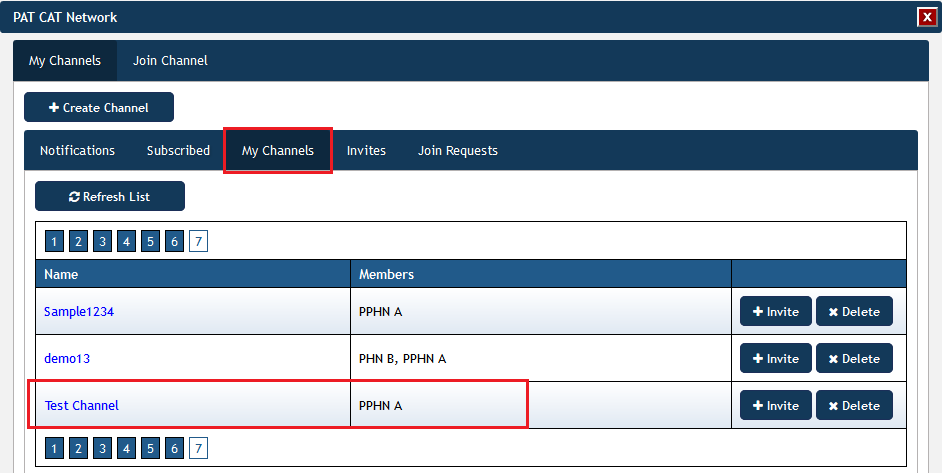
The new channel is now displayed (in alphabetical order) in the 'My Channel' tab.
Channel Invitation
Only organisations who are registered as participants in the PAT CAT network will receive invitations to a channel. Only the owner/creator of a channel can send an invite to a channel. Invites will be shown in the invite list. An organisation can send a join request to the owner/creator of that public channel. Once the join request is accepted by the owner the channel will become available.
To invite an organisation to your channel, click on the '+ Invite' button:
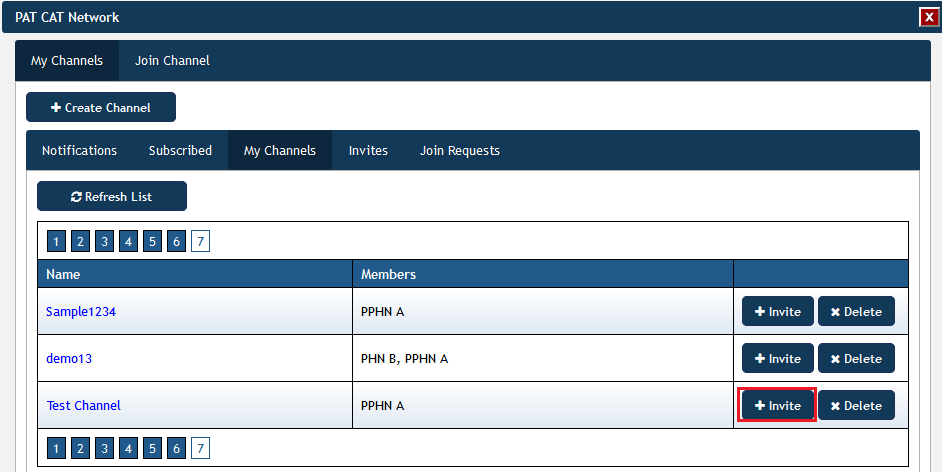
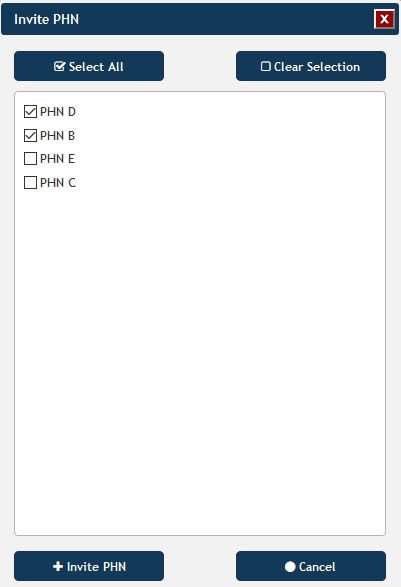
This will display another window showing a list of organisations that have registered for sharing data through the PAT CAT Network. Select those organisations you want to share your channel with and then click on '+ Invite PHN'.
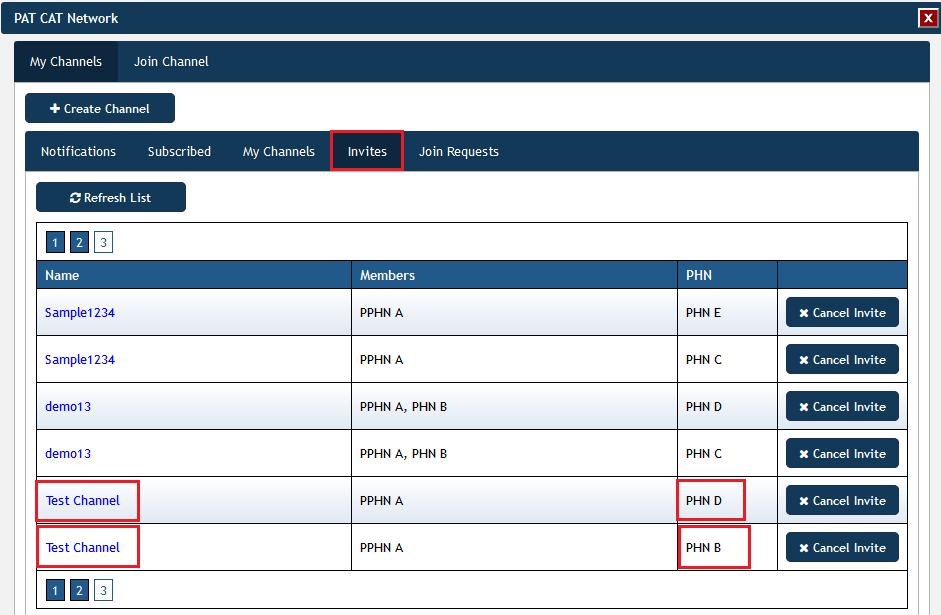
All invites regardless of who created the invite, will be displayed on the 'Invites' tab:
Public Channel Listing
...