A PHN/other organisation can receive an extract via email, ftp or other method; these extracts can be imported manually following the steps below.
We recommend using the 'Send To PAT CAT' from CAT4 for all data if possible!
- Ensure you are logged in to PAT CAT. Click the Import button; this will open the import window.

Figure 62: Import Button
- Click the New Extracts TAB. If there are any extracts already on your server but not imported yet you will be shown a list of the extracts and the corresponding clinics.
- To add a new extract, click Choose File.
NOTE: on some internet browsers the button may be labelled Browse.
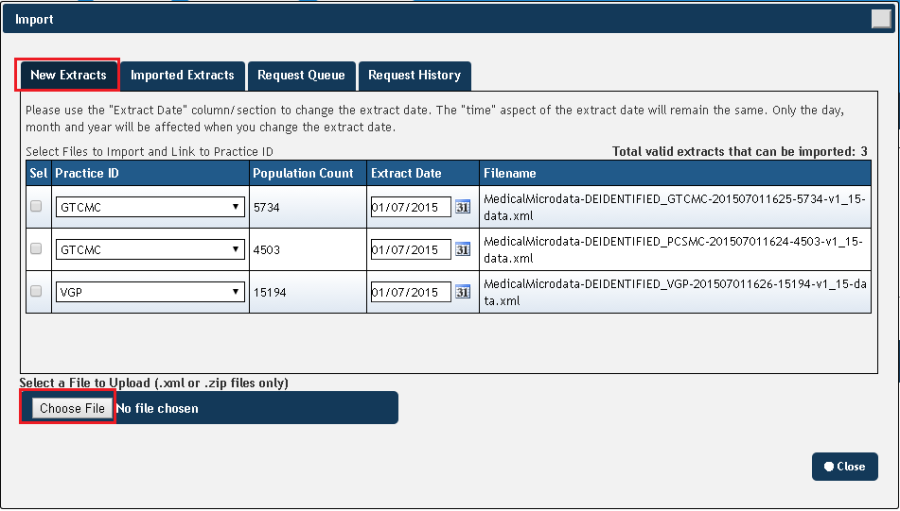
Figure 63: Choose File for Import
- Browse to the storage media containing the de-identified extract file. In the example given below, the extract is stored on a USB stick
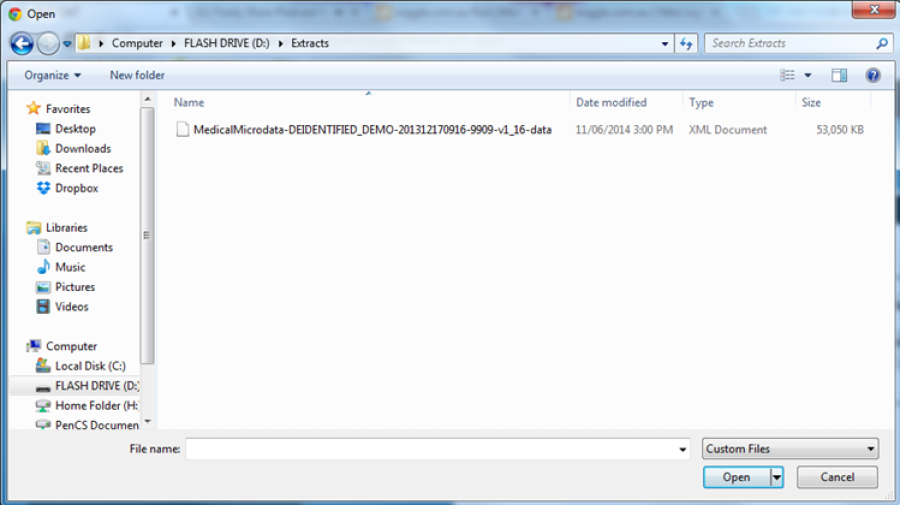
Figure 64: Select File for Import
NOTE: Ensure the file has the text "DEIDENTIFIED" or "DEIDENTIFED_GTAGGED", and "-data" in the name. If you have compressed the extract file select the ".zip" file, otherwise select the "...data.xml" file.
- Select the file and press the Open button.
- Select the Practice ID that you wish to be associated with the data contained in the extract. PAT CAT uses the name of the extract to determine the correct practice but you can manually overrule this process.
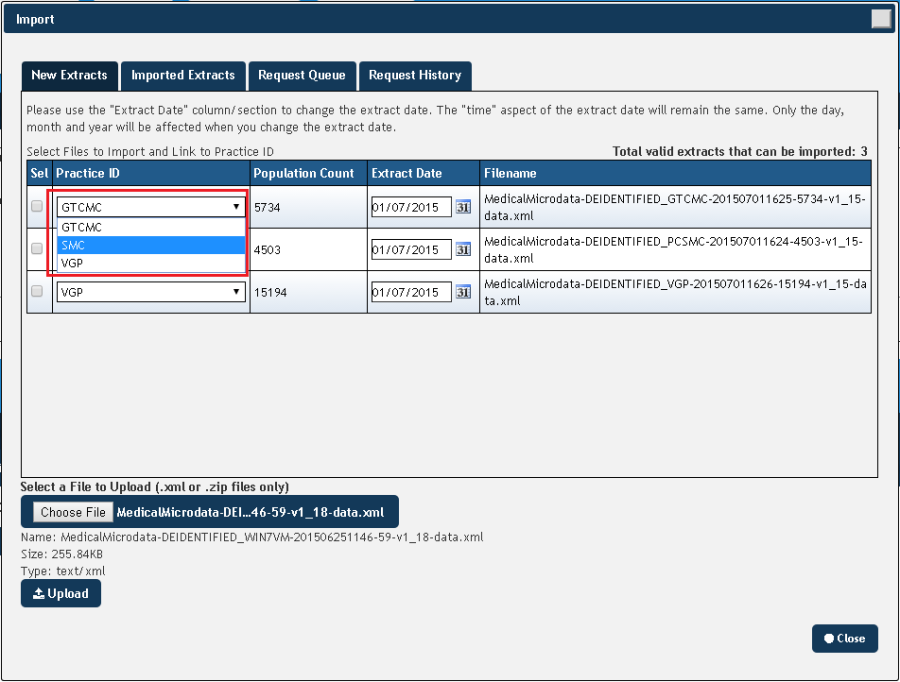
Figure 65: Select Practice
NOTE: If the extract is for a Practice that does not appear in the drop down list, you need to add the practice as detailed in Section 4.
- More than one extract may be uploaded via a single import, repeat Steps 3-6 for all extracts you wish to import.
- Select all extracts you wish to import via the Sel tick box.
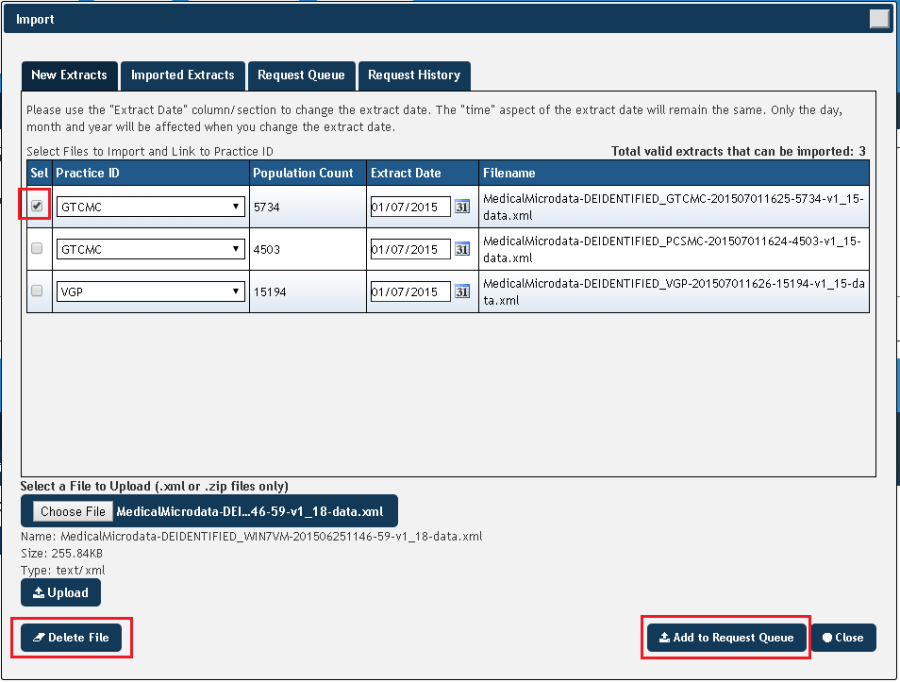
Figure 66: Select Extract
- Press the Add to Request Queue button. You can also delete extracts from this screen by using the 'Delete File' button
- Press OK on the confirmation dialog that appears
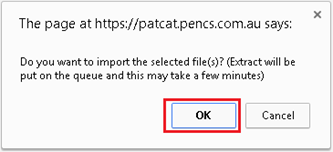
Figure 67: Import Message
Wait for the file to be imported into PAT CAT – you can check the Request Queue for progress and see the Request History for already imported files.
NOTE: This can take some time; particularly if there are others extracts waiting in the queue.
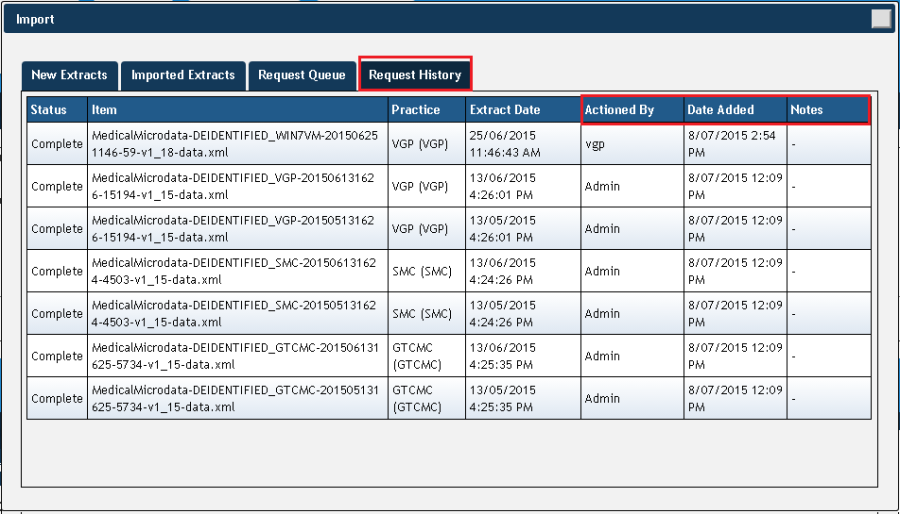
Figure 68: Request History
- Click on the "Close" button in the Upload window. You have now uploaded and imported the selected extracts into PAT CAT.