Recipe Name: | QIM 6 – Influenza immunisation for patients with COPD |
Rationale: | People with COPD are considered to be at high risk of complications from influenza. Data from several studies also provide evidence that influenza vaccination has a clinically important protective effect on influenza-related COPD exacerbations, and probably an effect on the total number of exacerbations in COPD patients. The administration of influenza vaccine to persons at risk of complications is the single most important measure in preventing or attenuating influenza infection and preventing mortality. While best practice guidelines recommend annual immunisation, a 15 month interval allows for cases when a client decides to receive a vaccine earlier than recommended (e.g. from a pharmacy), or delay and wait for the release of an ‘enhanced’ vaccine. |
Target: | Proportion regular clients who are aged 15 years and over who are recorded as having COPD and are immunised against influenza. A person is immunised against influenza if they have received an influenza vaccine within the previous 15 months. |
CAT Starting Point: |
|
CAT4 starting point
RECIPE Steps Filters:
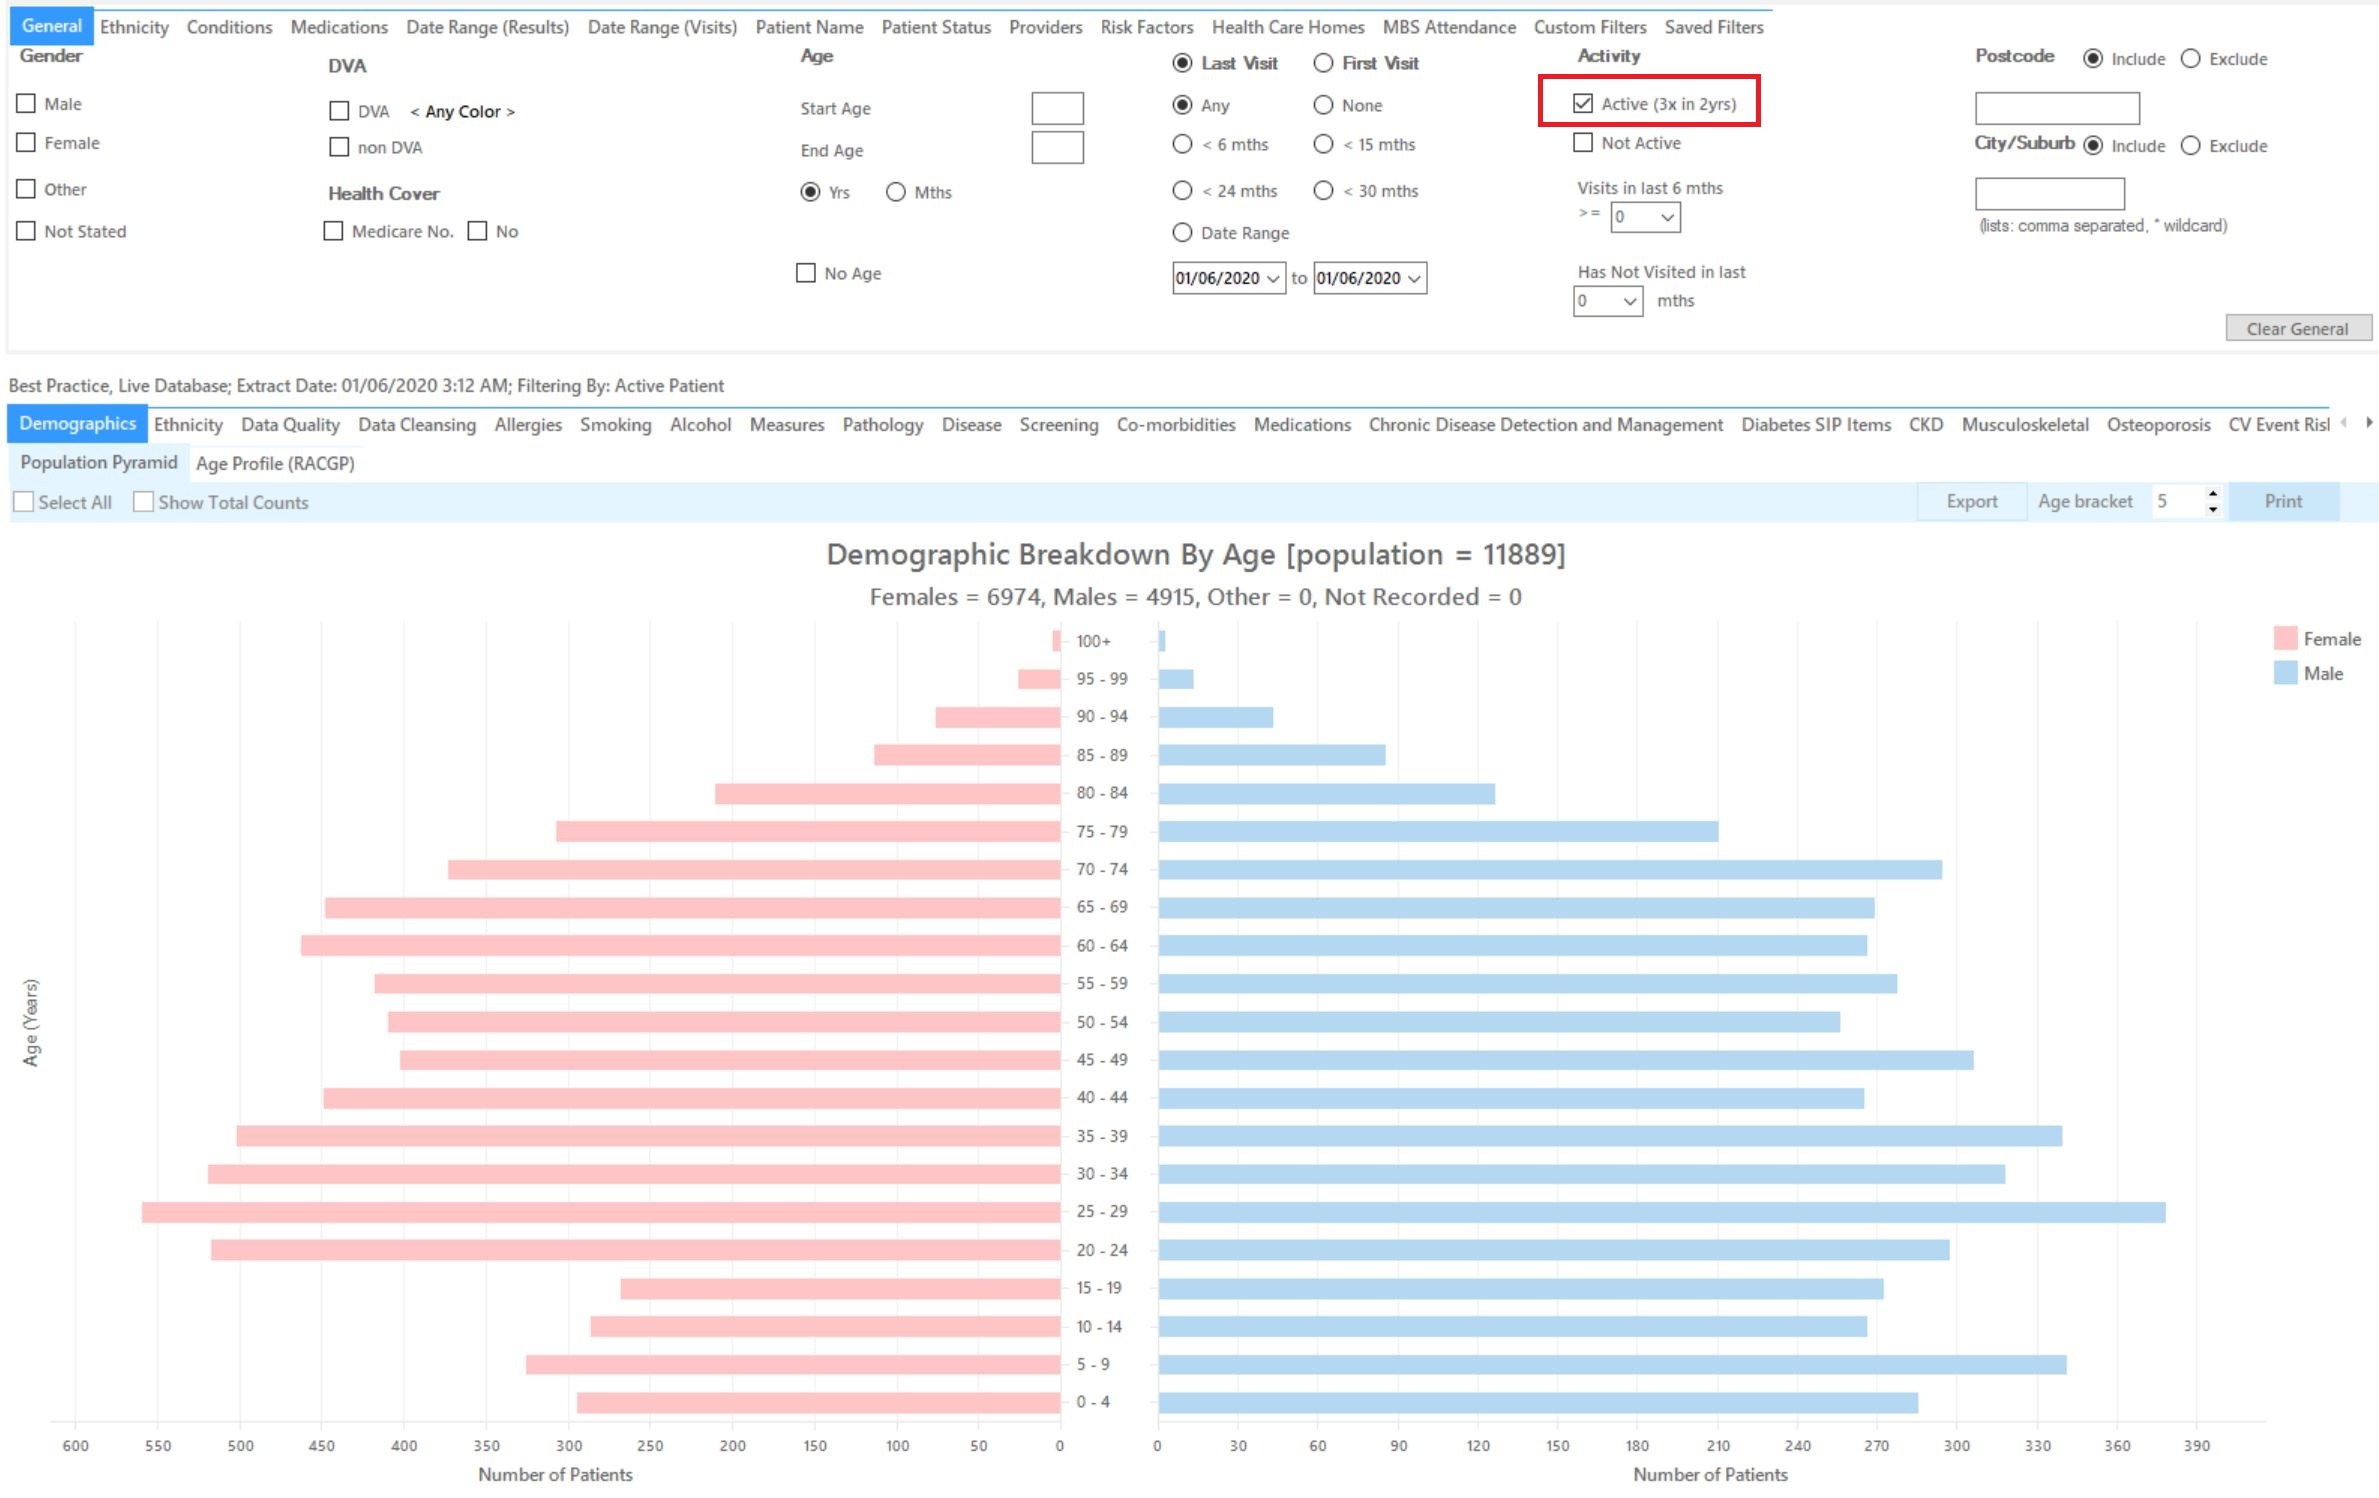
- In the “General” Tab, enter Start Age = 15
- On the 'Conditions' tab under 'Chronic', select COPD
- Then select the 15 month date range result filter, to only show results that were entered in the last 15 months:
- Click "Recalculate"
- Click ‘Hide Filters’
Report Steps
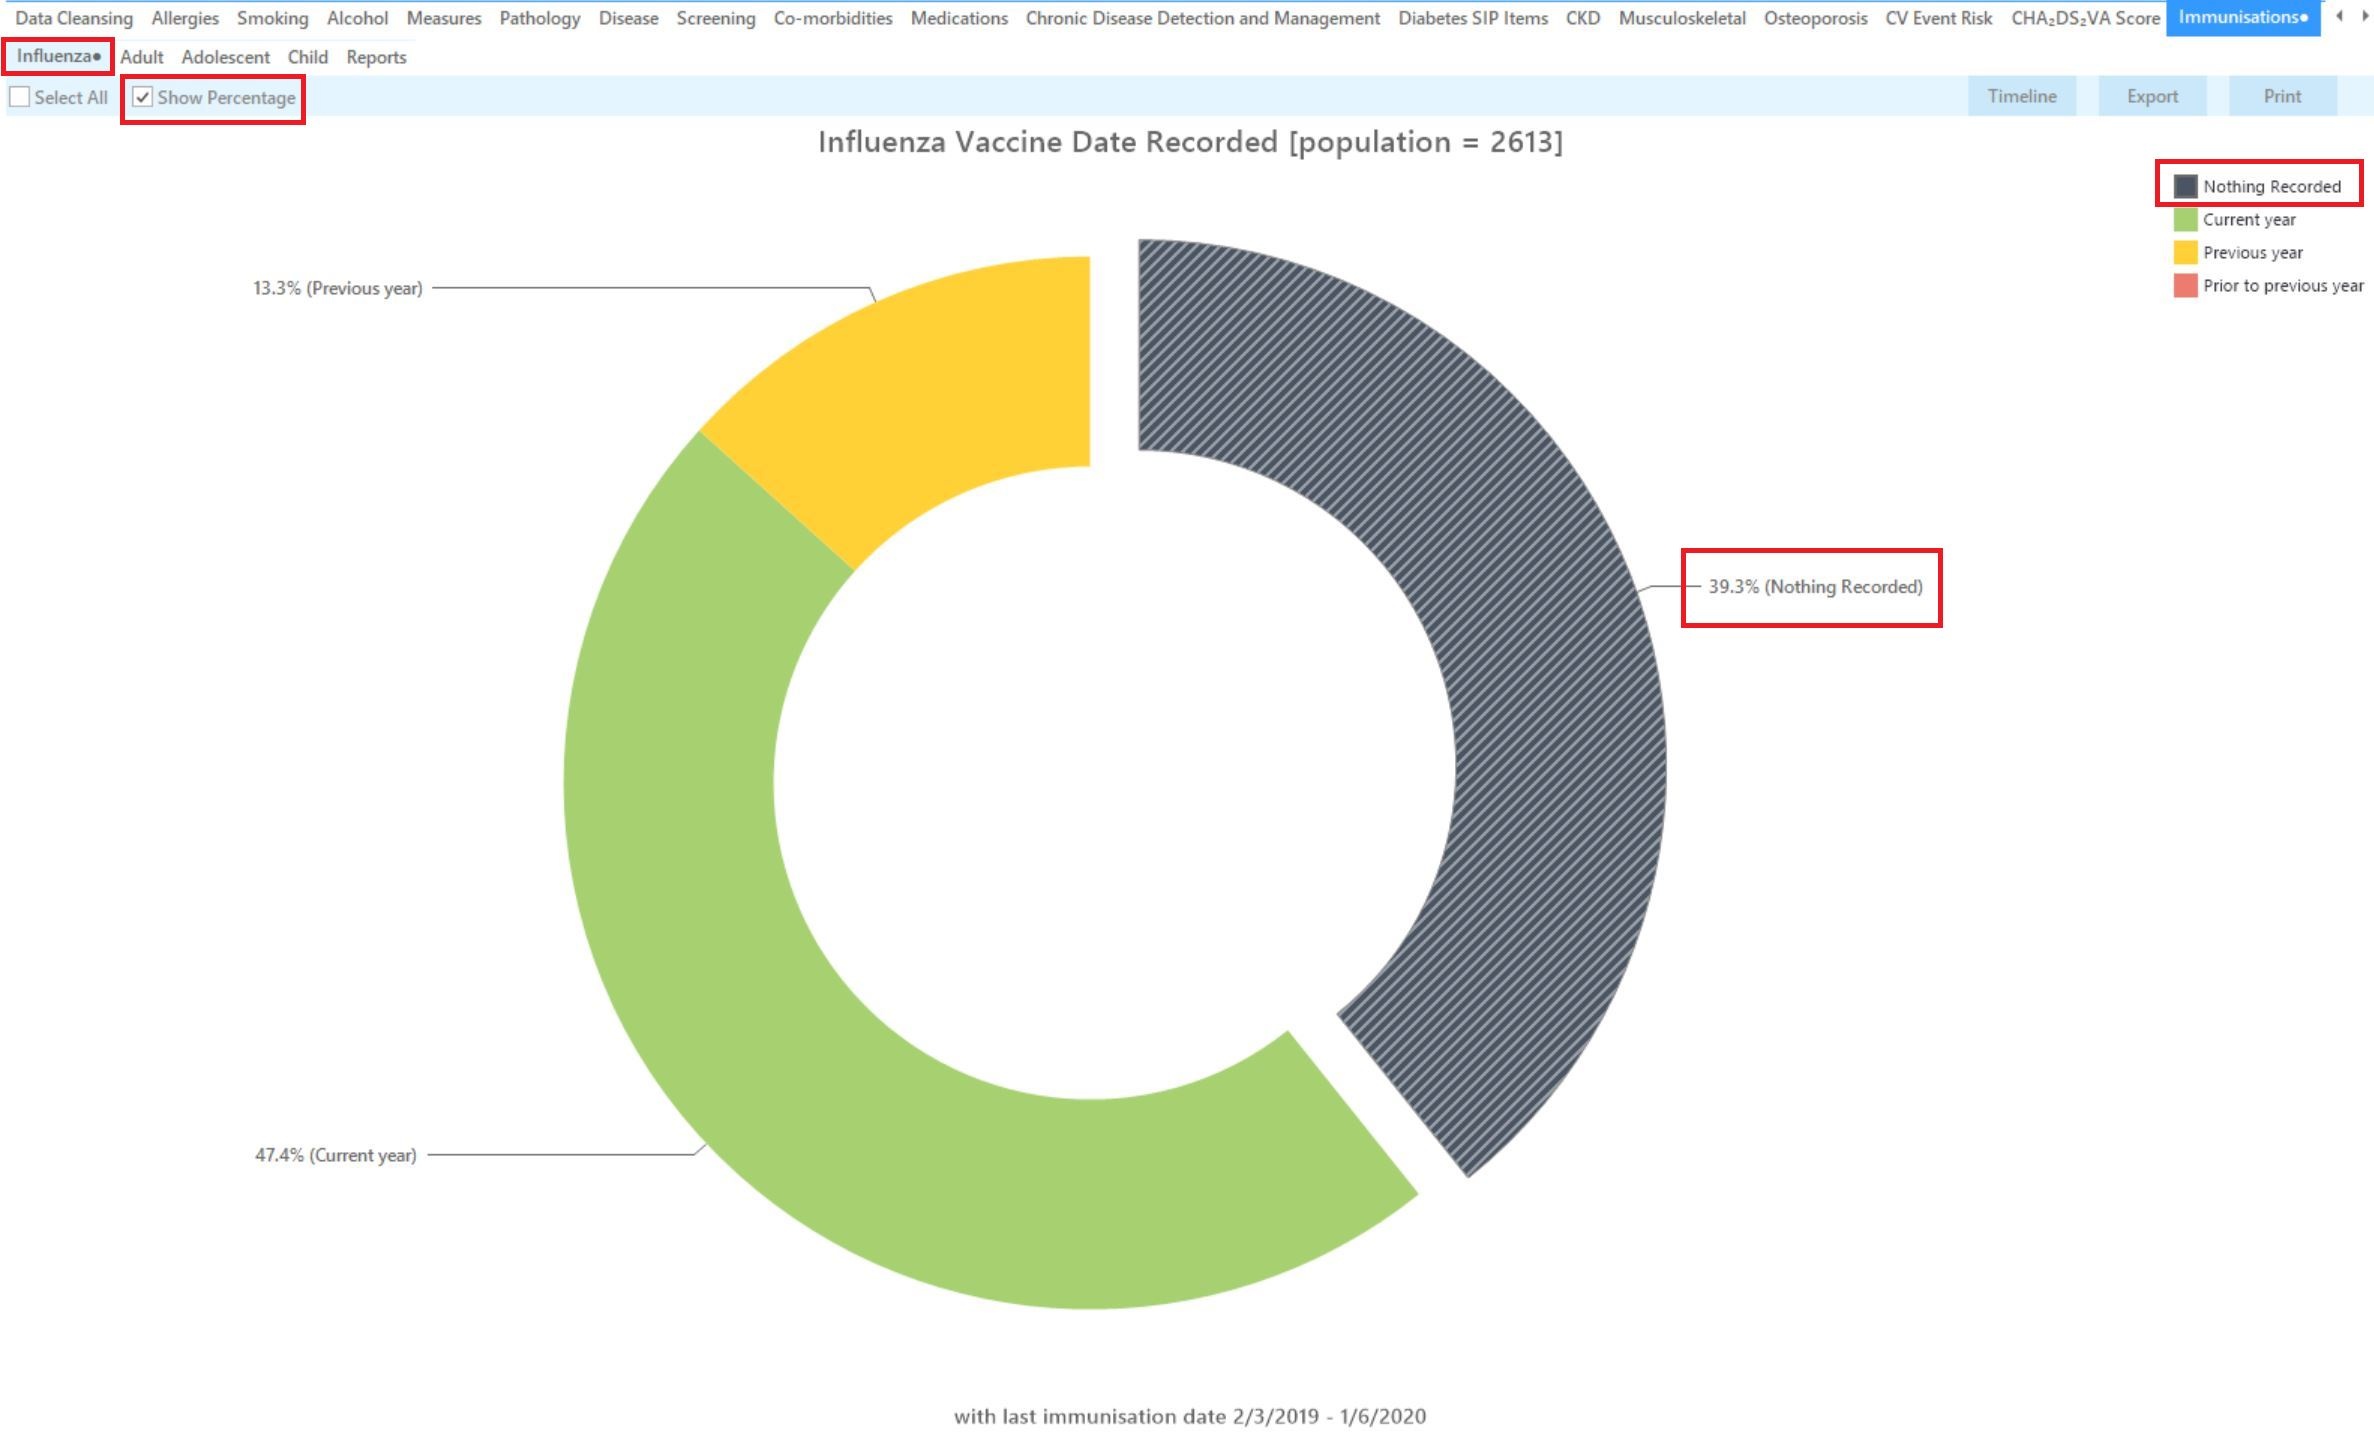
- Select the "Immunisations/Influenza" tab
This report will show you the Immunisation status of your selected patient group and will allow you to measure improvement over time by comparing your reports. The percentage of patients with 'Nothing Recorded' are those patients without an immunisation in the last 15 months
The immunisation report is designed to show patients who have received the current vaccine for the calendar year, so the 15 month criteria for this measure will show patients who have received last year’s vaccine if it was within 15 months of the extract date. Patients appearing in the ‘previous year’ category might still benefit from a vaccine this year!
To Export Patient List to Microsoft Excel:
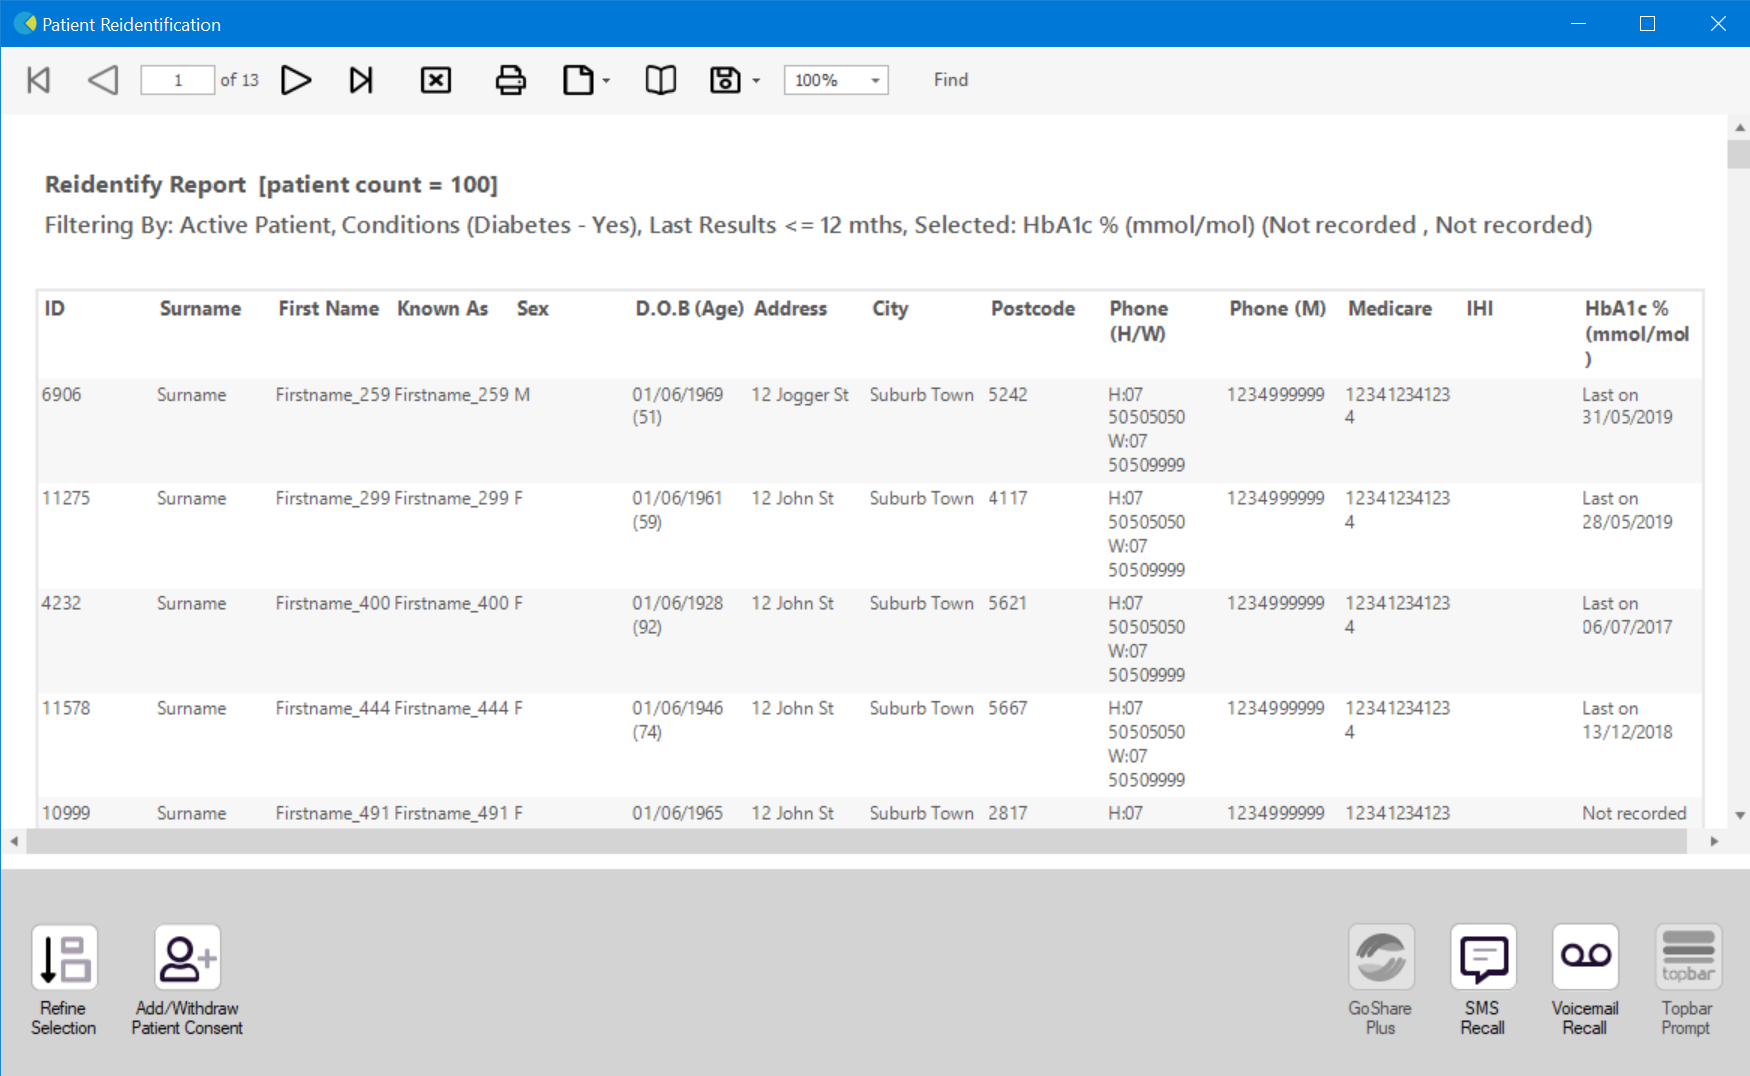
1. Click on the “Export Icon” at the top of the Patient Reidentification window.
2. Click on “Excel”
3. Choose a file name and a location to save to (eg. Create a folder C:/ClinicalAudit/CAT Patient FollowUp)
4. Click “Save”
The steps above will produce a list of patients with contact details in MS Excel which can then be used to:
1. Go back through the individual patient records in the GP Clinical Desktop System (CDS) and update known records
2. Phone patients to update their record
3. Produce a mail merge to recall patients for follow up
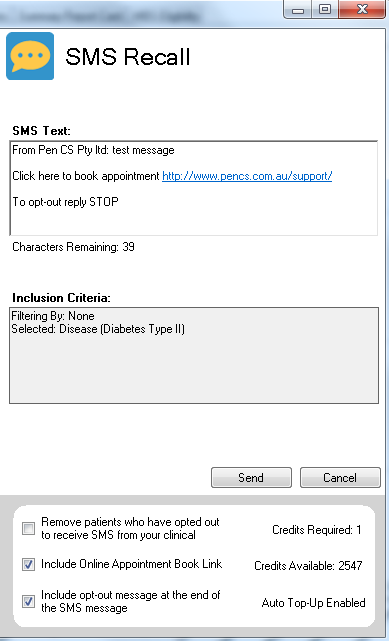
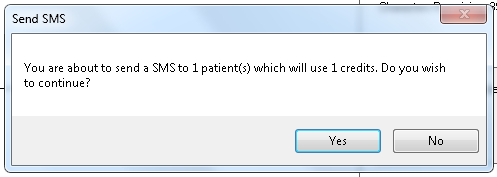
After you have applied one or more filters and/or cross tabulations and have selected the group of patients of interest, you will see the choices for SMS Recall and other options at the bottom of the patient re-identification report. This can be applied to all of our CAT Recipes or any custom search you want to perform. CAT Starting Point: Customising Steps Clicking on "Send" will send the message to all patients with a valid mobile phone number in their record. A confirmation message will prompt you with the number of messages to be sent and the required credits. Click yes to send the SMS recall.Optional: Use Recall CAT SMS and voice messages for patient recall
Full details are here: Recall CAT
The Patient Reidentification window displays your list of filtered patients
You can refine the selection manually by clicking the 'Refine Selection' button.
If you click on "SMS Recall", the "SMS Recall" window will be displayed with the name of your clinic. Enter a message that relates to the purpose of the notification. There are a number of options under the inclusion criteria:
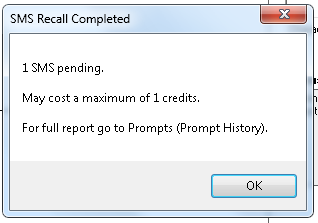
After sending a SMS or Voice Message you will see a message like this one (for SMS)
For full details on the prompt history, click on 'Prompts' and select 'SMS and Voicemail'
Recall CAT - Message History: http://help.pencs.com.au/display/CG/Recall+CAT+-+Message+History
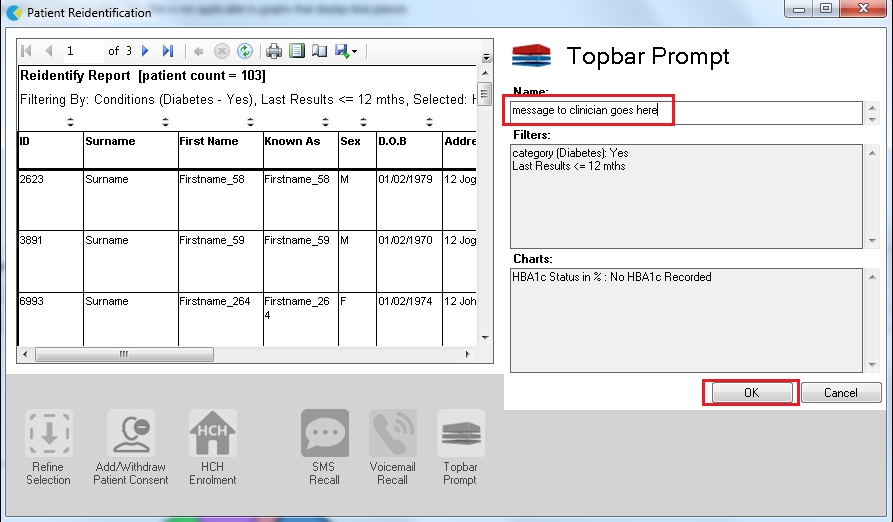
Remember you need to be in the CAT4 Daily View to be able to create prompts. Other pre-requisites are: To start click on the 'Daily View' icon on the top of your CAT4 screen: Once you have applied the filter(s) and displayed the patients of interest as described above, you can create a prompt that will be shown to all clinicians using Topbar if a patient meeting the prompt criteria is opened in their clinical system. The full guide is available at CAT PLUS PROMPTS and a short guide on how to create prompts in CAT4 can be found at Creating a Prompt in CAT4 To start you have to use the drop-down menu at the bottom of the patient details report and select "Prompt at Consult - Topbar" then click on "Go" to give the new prompt a name. The name you enter is the prompt text displayed in Topbar, so choose a simple but clear name that tells the clinician seeing the prompt what should be done.Optional: Create a prompt to display in Topbar
