Each entry displays the date/time of collection, the number of records retrieved and the machine name on which the collection was done. The tick box on top of the panel allows you to hide deidentified extracts to only show extracts containing your patient details.
NOTE: Before you start collecting data ensure you have set up your preferences to point to the correct clinical desktop system for your practice
See Setting Your Preferences for details about how to do this.
Once you click the 'Collect' button you will see the 'status bar' in the top right hand corner of the screen flashing while the data is retrieved from the clinical desktop system.
The data set collected is saved in your preferred data folder (see 'Setting Your Preferences' for more information).
When the data retrieval has completed you will see an entry in the left hand column. The data is stored as a 'snap-shot' on your PC. You can use this 'snap-shot' for analysis at any time in the future.
Tip: To refresh the list of 'snap-shots' toggle the 'hide/view Extracts' button.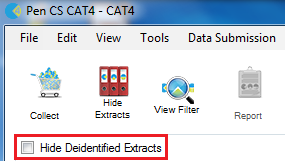
Tip: To refresh the list of 'snapshots' toggle the Hide/View Extracts button.


Each data set entry displays the date/time of collection, the number of records retrieved, and the machine name on which the collection was performed.
There is no limit to the number of data sets you can collect. Each data set will be listed as an entry in the left hand panel.
To analyse a specific data set, click on the entry for that data set. It will become highlighted and you will see the 'status bar' in the top right hand corner of the screen flashing while the data is reloaded from the 'snapshot' into CAT4.