Rational: Self-collected Cervical Screening Tests were introduced in January 2018 as a pathway for under screened women in Victoria through the National Cervical Screening Program. |
| Target: Meet the criteria for under screened or never screened Criteria for never screened: Women aged 30 to 74 years who have no Pap smear or Cervical Screening Test result. Criteria for under screened: Women aged 30 to 74 years who are two or more years overdue for screening (i.e. last Pap smear was taken four or more years ago or last Cervical Screening Test was taken seven or more years ago). |
Population Extract Loaded and Extract Pane "Hidden"
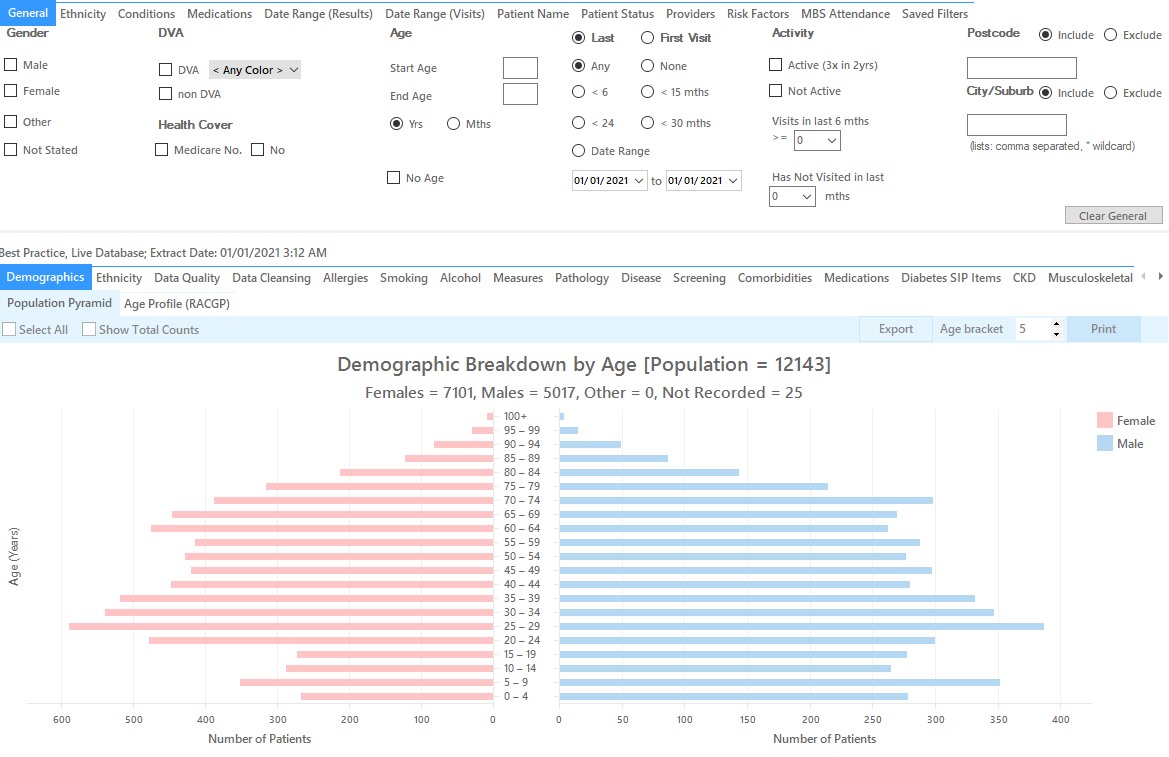
Optional: filter Pane open and under the 'General' tab 'Active Patients' (3x <2 years) selected (this step can be omitted if you want to search for all patients).
Filter Steps:
You don't have to filter for gender, as the report will do that for you
On the "General" tab enter the start age of 30 and end age of 74:

Click 'Recalculate' and 'Hide Filters'
![]()
Criteria for never screened: Identify women aged 30 to 74 years who have no Pap smear or Cervical Screening Test result.
Report Steps
Select 'Screening' tab
Select 'Cervical Screening' tab
Click on the "Not Recorded" part of the graph (please show as outlined in bold on the following pie chart) 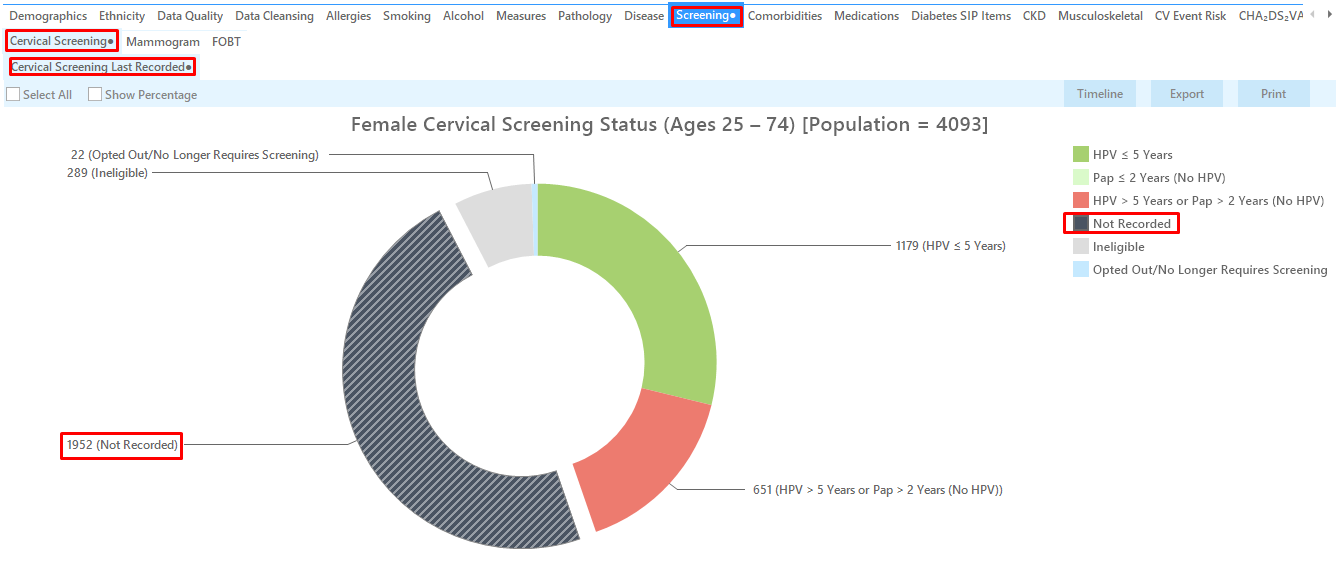
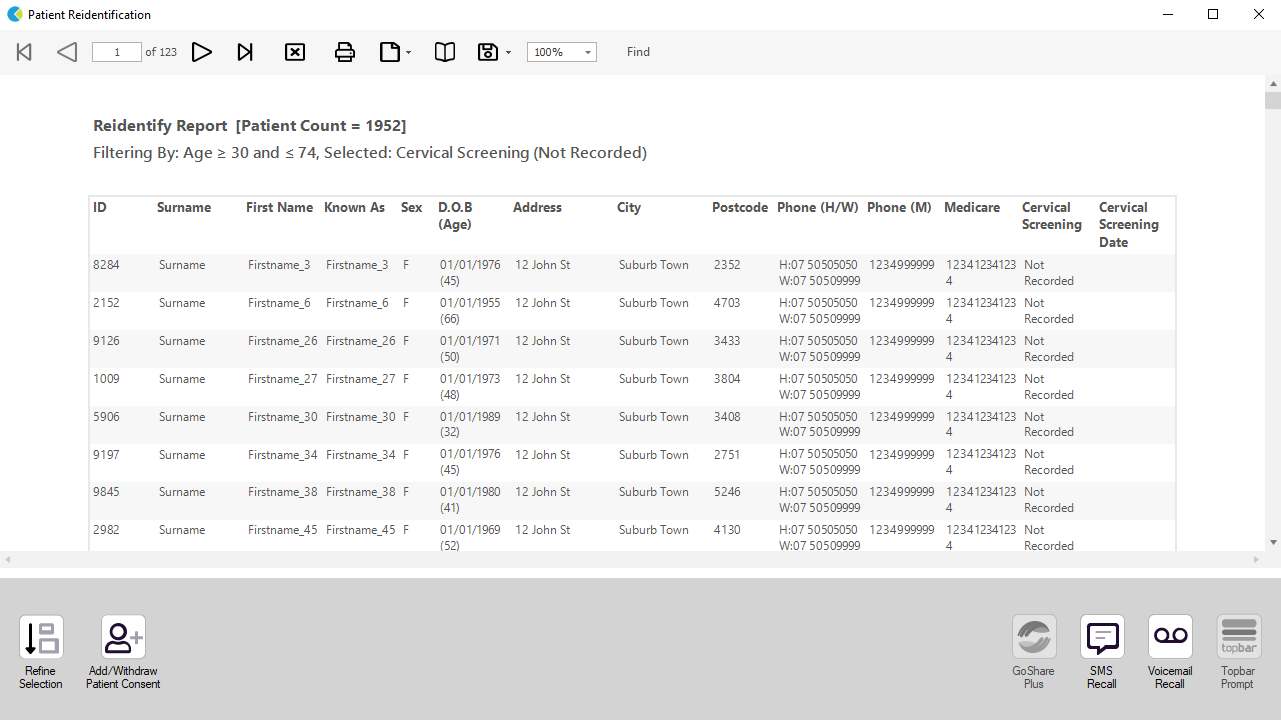
Click on the not recorded quadrant of the pie chart. Click on 'Export' or to see the list of patients selected
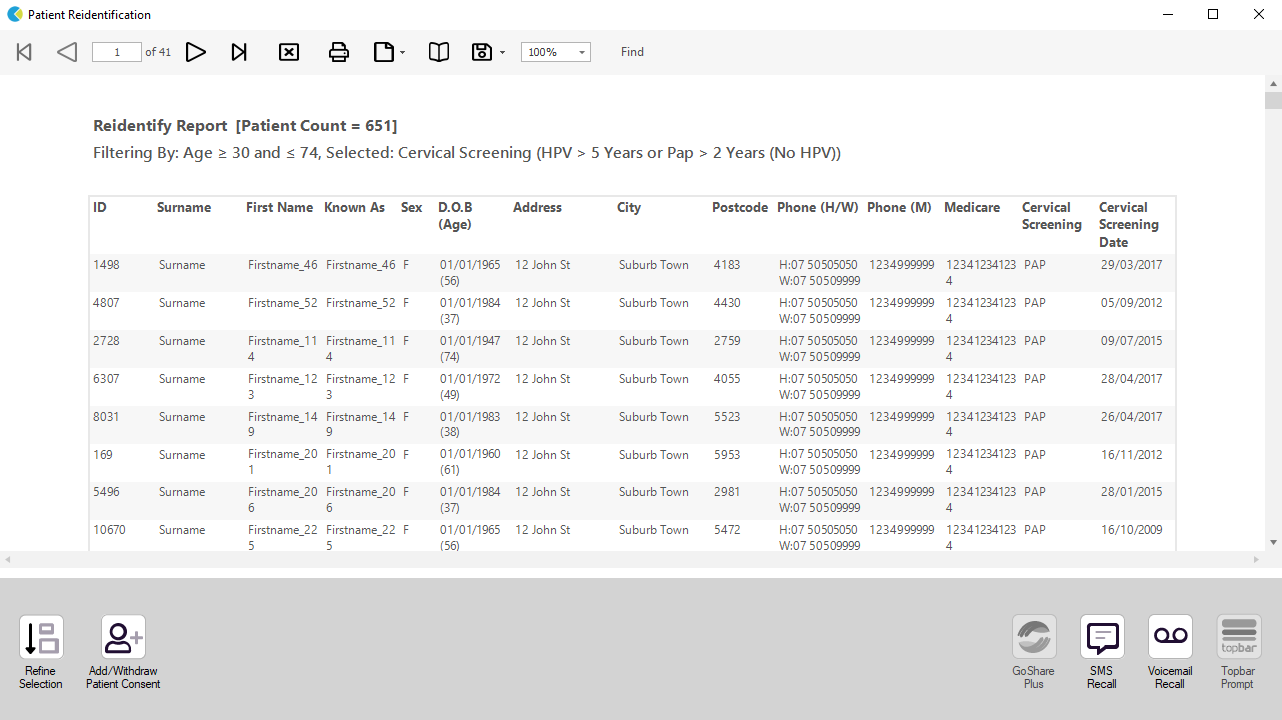
Criteria for under screened:
Identify women aged 30 to 74 years who are two or more years overdue for screening (i.e. last Pap smear was taken four or more years ago or last Cervical Screening Test was taken seven or more years ago).
Report Steps
Select 'Screening' tab
Select 'Cervical Screening'
Click on the "HPV > 5 Years or Pap >2 Years (No HPV)" part of the graph
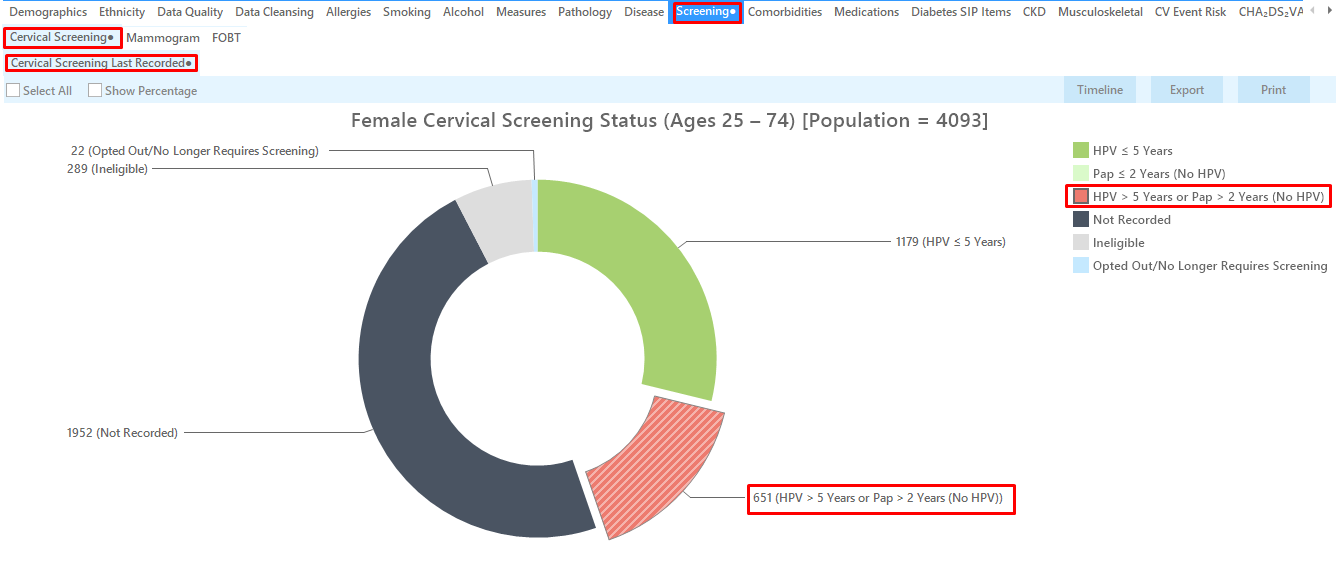
Click on 'Export' to see the list of patients selected
To Export Patient List to Microsoft Excel:
Click on the "Export Icon" ![]() at the top of the Patient Reidentification window.
at the top of the Patient Reidentification window.
Click on "Excel"
Choose a file name and a location to save to (eg. Create a folder C:/ClinicalAudit/CAT Patient FollowUp)
Click "Save"
The steps above will produce a list of patients with contact details in MS Excel which can then be used to:
Go back through the individual patient records in the GP Clinical Desktop System (CDS) and update known records
Phone patients to update their record and get their permission to call the National Cancer Screening Register (NCSR)
Produce a mail merge to recall patients for follow up
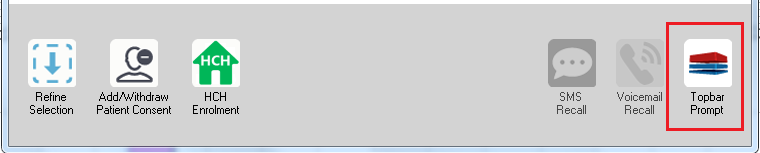
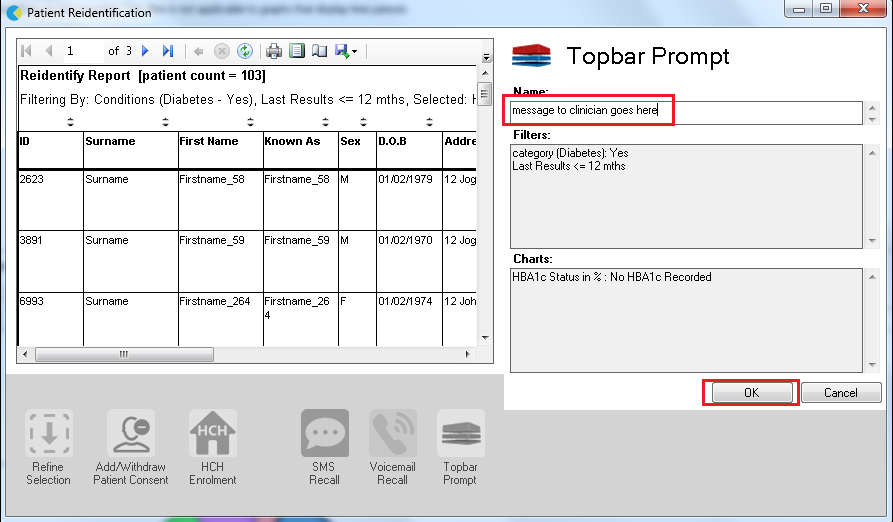
Create a prompt to display in Topbar Remember you need to be in the CAT4 Daily View to be able to create prompts. Other pre-requisites are: To start click on the 'Daily View' icon on the top of your CAT4 screen: Once you have applied the filter(s) and displayed the patients of interest as described above, you can create a prompt that will be shown to all clinicians using Topbar if a patient meeting the prompt criteria is opened in their clinical system. The full guide is available at CAT PLUS PROMPTS and a short guide on how to create prompts in CAT4 can be found at Creating a Prompt in CAT4 To start you have to use the drop-down menu at the bottom of the patient details report and select "Prompt at Consult - Topbar" then click on "Go" to give the new prompt a name. The name you enter is the prompt text displayed in Topbar, so choose a simple but clear name that tells the clinician seeing the prompt what should be done.![]()
After you have applied one or more filters and/or cross tabulations and have selected the group of patients of interest, you will see the choices for SMS Recall and other options at the bottom of the patient re-identification report. This can be applied to all of our CAT Recipes or any custom search you want to perform. CAT Starting Point: Customising Steps Clicking on "Send" will send the message to all patients with a valid mobile phone number in their record. A confirmation message will prompt you with the number of messages to be sent and the required credits. Click yes to send the SMS recall.Optional: Use Recall CAT SMS and voice messages for patient recall
Full details are here: Recall CAT
The Patient Reidentification window displays your list of filtered patients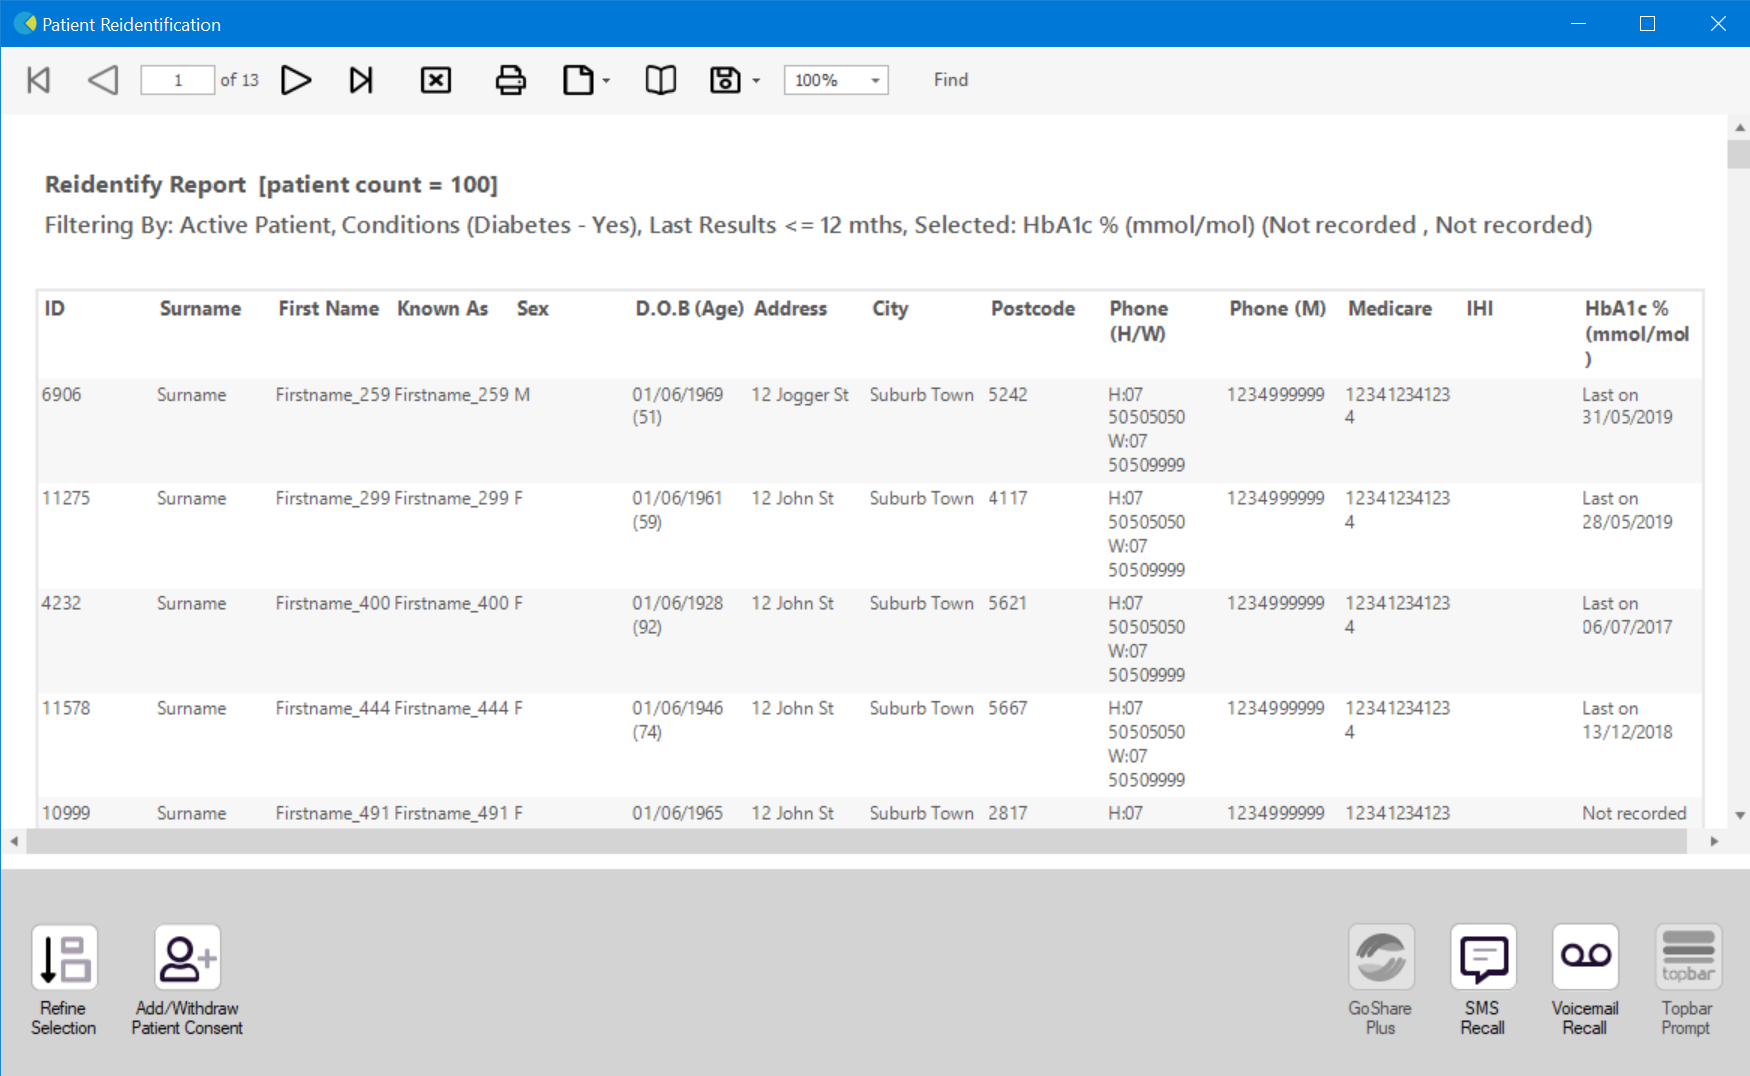
You can refine the selection manually by clicking the 'Refine Selection' button.
If you click on "SMS Recall", the "SMS Recall" window will be displayed with the name of your clinic. Enter a message that relates to the purpose of the notification. There are a number of options under the inclusion criteria:
After sending a SMS or Voice Message you will see a message like this one (for SMS)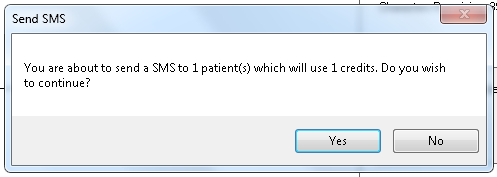
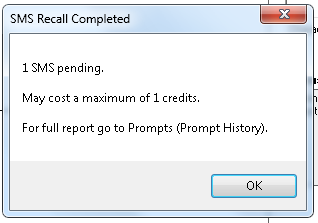
For full details on the prompt history, click on 'Prompts' and select 'SMS and Voicemail'
Recall CAT - Message History: http://help.pencs.com.au/display/CG/Recall+CAT+-+Message+History